Gear is toys, isn't it? Some of the gear below are new toys I got to play with for the first time on this most recent trip. Some of it is gear I have used in the past, but my view on the item has changed in one way or another. Here are the things in the order I thought about them when I was making a list.
Sea to Summit Cool Grip X-Mug
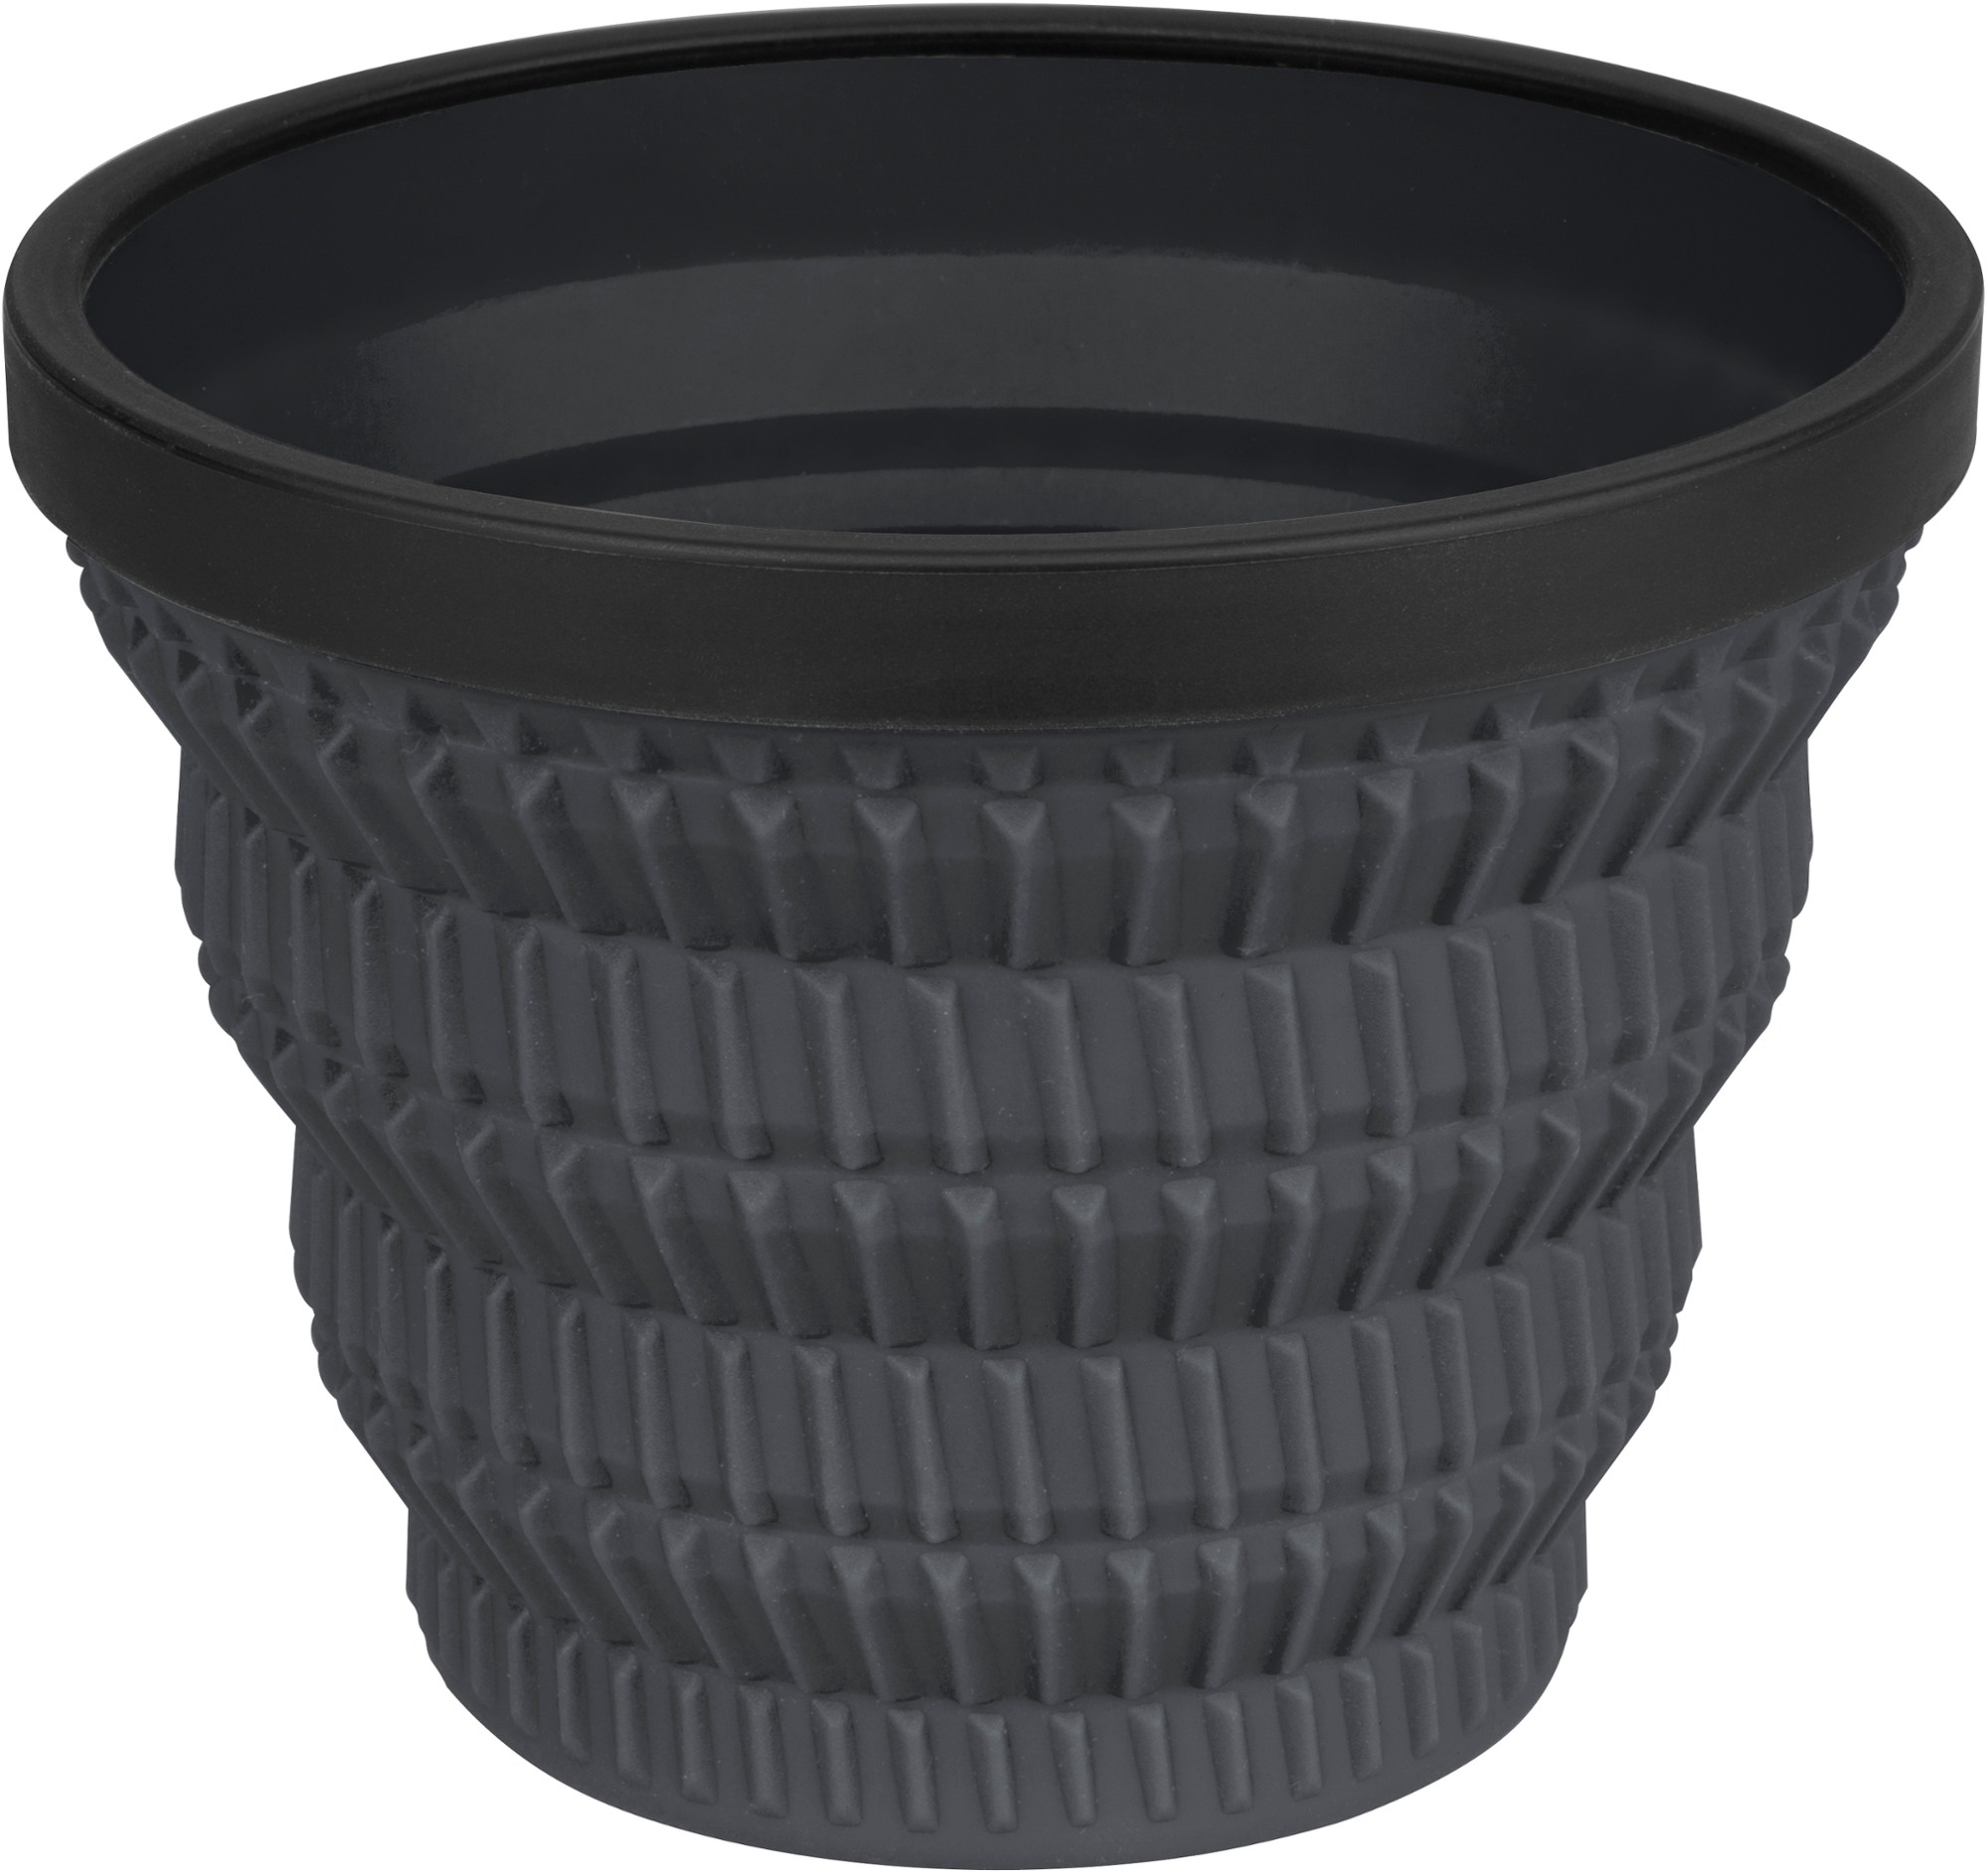
The Sea to Summit Cool Grip X-Mug is a collapsible mug with a dumb name, but I really appreciated a couple of features it has. First, the diameter of the mug is just a bit wider than my 750 ml Toaks cookpot. The mug is made of silicone with a "glass reinforced nylon rim". It is heat resistant. This means I can use it as a lid for my Toaks cook pot. I popped the bottom section of the mug out when using it as a lid for my cookpot and it makes a convenient handle. The Toaks pot lid has a tiny little triangle handle that folds down. If you forget to pop that handle up before you start your pot to boil, it gets hot and can be tricky to pick up your lid. The mug as a lid is easy to pick up, even on cold mornings when you're wearing gloves to make breakfast.
 |
| Lid collapsed |
 |
| Handle mode |
This does increase the weight of my cook kit by 51 grams (1.8 oz). I can leave the 18 gram Toaks lid at home when I bring the 69 gram S2S mug. but I'll take the slight weight increase for the added benefits. I made oatmeal in the mug one morning for breakfast on this trip. I am happy to report the mug was also easy to wash out. I didn't make any hot cocoa for breakfast on this trip, but I expect that will be another use for the mug in the future. I'm not a coffee drinker, but I suppose you could drink coffee in this mug. Gross.
FroggToggs makes rain gear that is also popular with backpacker (and other outdoors sports) because their rain suits and ponchos are light weight and inexpensive. This poncho cost $22.99 on Amazon when I purchased it (I try not to buy from Amazon when there is an alternative). The Arcturus poncho is longer than the FroggToggs ponchos. FroggToggs ponchos don't cover past your knees. This one does.
I was also able to cover over the top of my backpack, which is nice to help keep the rain off my gear. Having it lifted up and over my pack also probably helped add space and airflow in the poncho.
The All Season pad also seems like it might be made out of more robust material. The Insulated Tensor seemed thin and more delicate. The only drawback for the new pad over the previous version is that it packs very slightly larger.
It's a pricy pad, but worth the investment for your sleep. There are other places to cut costs in backpacking. Save your pennies for a good sleeping pad.
I didn't even have a waterproof food bag on that first trip. I was using a reusable nylon grocery bag. I upgraded the bag a few weeks after that trip, I believe. The bag was starting to take on some of the food smells, which is not ideal. Even if it's hung, if animals can smell the food, it can still attract them to see what's going on.
Other than the food bag upgrade, I really tried to not spend more on fancy line or a rock sack. I thought those items were extra cost for no reason. But I discovered that my bear hang kit was often frustrating. First, it's not always easy to find a rock that is the right size, or that is easy to tie line around. If the rock is too round and there aren't corners or points that help to secure the line, your line is likely going to slip off on your first or second throw. If rocks are too big, you can't throw them 20 or more feet into the air, if they are too small, they don't carry the line with them and they are more difficult to tie to your line. You have to find the Goldie Locks of rocks. Second, the cheap cord I had was prone to twisting on itself a lot, which made it a tangled mess. And if your line is tangled on itself, you have to spend time trying to straighten it out. The cheap line also frequently snagged on branches sticking out from the main limb over which I was trying to cast my line.
This combination saved me time and frustration on this recent trip. I did learn that this cord can still retain a bit of water. It was out in the rain overnight on my last night on the trail last week. I pulled the line out of the rock bag yesterday as I was preparing to write this article and it was still wet. I unspooled the hank and left it in my garage overnight. It dried out quickly that way.
Using these in the real world proved more challenging though. The lower section of my trekking pole turns, so the magnet isn't always oriented toward the pack. Another issue is just getting the location of the magnet on my pack right when I'm trying to stash my poles. The Durston pack I carry has compression straps that are just cord rather than nylon webbing. I suspect that if you are using a pack with nylon webbing, the magnet that attaches to your pack might not slide around as much, but on the Durston pack, those magnets don't stay put. I found it took far less time and was less frustrating to hold my poles in my armpit for a few minutes to free my hands. Stopping and setting them down was also preferable than using the stashers.

Arcturus Rain Poncho
I bought this Arcturus poncho about a year ago when I was trying to prepare for my Ouachita Trail thru hike, but I really haven't used it on trail before this past weekend. It's light weight 312 grams (11 oz), bright orange (nice to have when tromping around the woods during hunting season). I have a rain suit that I have taken on trips when I know it's going to be colder, but when ventilation is a higher priority than warmth, I think a poncho makes sense.
 |
| It packs smaller than the image suggests |
FroggToggs makes rain gear that is also popular with backpacker (and other outdoors sports) because their rain suits and ponchos are light weight and inexpensive. This poncho cost $22.99 on Amazon when I purchased it (I try not to buy from Amazon when there is an alternative). The Arcturus poncho is longer than the FroggToggs ponchos. FroggToggs ponchos don't cover past your knees. This one does.
I was also able to cover over the top of my backpack, which is nice to help keep the rain off my gear. Having it lifted up and over my pack also probably helped add space and airflow in the poncho.
It was difficult to actually get the back of the poncho up and over my pack behind me. I struggled with it. If I wasn't hiking solo, a partner could have easily done it for me, but 9/10, when I'm actually backpacking, I'm on the trail by myself. I may be able to figure out an easier way to throw the poncho back over my pack. If I can figure that out, I think this is a great option, especially for warmer weather hiking in the rain. I was hustling it through a good portion of the trail in temperatures around 60° F.
At this price point, there will always be pros and cons. This poncho did what I needed it to relatively well without breaking my back because it's heavy, without breaking my bank, and without taking up a lot of space in my pack when it's not in use. It will be in my pack again on future trips. I might try to practice putting it on over a pack at home with a mirror so I can see what is happening "where my eyes don't go".
Nemo Tensor All Season
For anyone who has read through any of my chronicles about hiking the Ouachita Trail, you already know about the trouble I had with my Nemo Tensor Insulated sleeping pad. The pad was great when it was not compromised, but on my first night on the OT, I accidentally punctured the pad. Truthfully, even after it was punctured, it still kept me relatively warm. It just wasn't nearly as comfortable.
I tried to repair that pad, but no matter what I did, I could not fix it so that it wouldn't leak. Prompted by a person on a Facebook group hiking forum, I submitted a warranty form to Nemo, where I made clear that I thought the puncture was due to user error, but that I was really just looking for help on fixing it. Nemo had me ship the pad to them. After they inspected it, they decided to replace it. Not only did they replace it with a new pad, they sent me an upgrade!
The Nemo Tensor All Season is lighter weight, warmer, and thicker than the Tensor Insulated that I previously had. The Tensor All Season is apparently a new model, and I think Nemo may be discontinuing the older model.
 |
| Figures taken from the factory packaging on the wide/long versions |
So, how did I sleep? I slept comfortably. I figured out that I don't need to inflate this pad to full. It's thick enough that it keeps me off the ground, even when I lie on my side (and I mostly lie on my side). When fully inflated, it almost bulges in the middle. These nights on the trail were not particularly cold. In fact, with my 20° rated quilt, I was almost too warm for parts of the night. The Nemo Tensor All Season is a keeper in my opinion.
 |
| Nemo Tensor All Season |
It's a pricy pad, but worth the investment for your sleep. There are other places to cut costs in backpacking. Save your pennies for a good sleeping pad.
Bear hang kit
I'm probably just about as excited about this as I was for the new sleeping pad. For those who don't know, it is a best practice when you prepare for bed in camp to hang your food from a tree away from your camp. This keeps bears away from your food and away from your camp, but it also helps keep other critters away from your camp and out of your food as well.
To hang your food, you need a bag to hold your food, an accommodating tree limb about 20' that sticks out from the trunk at least 6', and some cordage. With this minimalist approach, you also need to find a rock that is about fist sized to help you throw your line over the tree limb. I bought cheap cord from Walmart and Amazon to start out. My very first bear hang was in March of last year on a shakedown hike on the Ouachita Trail at Brown Creek Shelter.
 |
| Gavagai's first bear hang |
I didn't even have a waterproof food bag on that first trip. I was using a reusable nylon grocery bag. I upgraded the bag a few weeks after that trip, I believe. The bag was starting to take on some of the food smells, which is not ideal. Even if it's hung, if animals can smell the food, it can still attract them to see what's going on.
Other than the food bag upgrade, I really tried to not spend more on fancy line or a rock sack. I thought those items were extra cost for no reason. But I discovered that my bear hang kit was often frustrating. First, it's not always easy to find a rock that is the right size, or that is easy to tie line around. If the rock is too round and there aren't corners or points that help to secure the line, your line is likely going to slip off on your first or second throw. If rocks are too big, you can't throw them 20 or more feet into the air, if they are too small, they don't carry the line with them and they are more difficult to tie to your line. You have to find the Goldie Locks of rocks. Second, the cheap cord I had was prone to twisting on itself a lot, which made it a tangled mess. And if your line is tangled on itself, you have to spend time trying to straighten it out. The cheap line also frequently snagged on branches sticking out from the main limb over which I was trying to cast my line.
Just finding a tree limb that will work to hang your food can be time consuming and difficult. Not every tree has a branch that is large enough, high enough, sticks out far enough from the trunk, etc. Adding more frustration and complexity to that situation only makes things more difficult.
My trail friend from my OT thru hike attempt, Tater, had quality Dyneema cord and a rock bag. Before that trip, I had always thought those were extra cost and fuss with no payoff, but seeing how much easier Tater's bear hangs were than mine, sold me on the idea.
My trail friend from my OT thru hike attempt, Tater, had quality Dyneema cord and a rock bag. Before that trip, I had always thought those were extra cost and fuss with no payoff, but seeing how much easier Tater's bear hangs were than mine, sold me on the idea.
What is a rock bag? A rock bag is a small fist-sized bag, usually made out of Dyneema (light weight, but still tough). You can put a single rock or a fistful of gravel in it, which makes the process of weighting your line far easier. When your line is not being used, the rock bag also makes a convenient storage container for it. This is the bag I got: Krafs Stuff Sack by allmansright.
 |
| Rock bag |
I also upgraded my line to a Dyneema cord: Ultraglide Bear Line (50' Hank) by Lawson Equipment. Who doesn't love a nice hank of cord?
%20by%20Lawson%20Equipment%20%E2%80%93%20Garage%20Grown%20Gear.png) |
| New bear line |
This combination saved me time and frustration on this recent trip. I did learn that this cord can still retain a bit of water. It was out in the rain overnight on my last night on the trail last week. I pulled the line out of the rock bag yesterday as I was preparing to write this article and it was still wet. I unspooled the hank and left it in my garage overnight. It dried out quickly that way.
Stick Stashers
This was something I asked for as a birthday gift last year, but I only attempted to use it on trail recently. The purpose of this product is to make it easy for you to stash your trekking poles on your pack while you are hiking without having to remove your pack.
The concept is very simple. You have a pair of polar-receptive magnets, one on the compression strap on your pack and one on the end of your trekking pole. When you want to put your pole away for a bit, you flip it behind you, magnets click and hold, you let go of your pole handle, and you have a free hand.
Using these in the real world proved more challenging though. The lower section of my trekking pole turns, so the magnet isn't always oriented toward the pack. Another issue is just getting the location of the magnet on my pack right when I'm trying to stash my poles. The Durston pack I carry has compression straps that are just cord rather than nylon webbing. I suspect that if you are using a pack with nylon webbing, the magnet that attaches to your pack might not slide around as much, but on the Durston pack, those magnets don't stay put. I found it took far less time and was less frustrating to hold my poles in my armpit for a few minutes to free my hands. Stopping and setting them down was also preferable than using the stashers.
I love the idea, but this just didn't work out for me. I've actually listed the pair on Facebook marketplace. Maybe they will work for someone else better than they did for me.

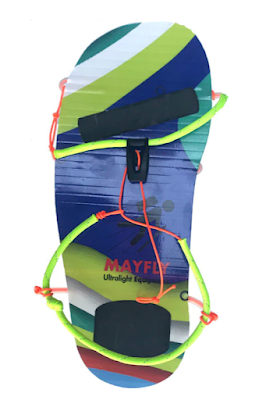
Imago Mayfly camp sandals
These will seem crazy at first, but they are actually cooler than they look.

When you're at camp, your feet may be wet from the trip in. Carrying sandals is often a full extra pound of weight. Mine are size 12 and they weight 2.15 oz (60g). I've had heavier sneezes than that. They don't have great traction, but if you're just walking around camp, they are a great way to air out your feet a bit and to keep your dry socks dry.
Even on my recent wet trip, I was able to wear these around inside the shelter and for brief excursions beyond the shelter to water a tree. Here is a link: Imago by Mayfly Ultralight Equipment.
My use for these was somewhat limited on this recent trip because it was so wet. If I'm only carrying one pair of clean dry socks for sleeping in, I can't wear those socks with sandals that will risk them getting wet. But the same would be the case with any pair of sandals I might try to bring. The difference is, if I can't use heavy traditional sandals, I've carried all that extra weight for no reason. These are minimalist enough that I'll put up with 2 oz that I didn't get to use on the off chance I might get to use them.
Hilltop packs mini sack
This is a very small convenience item for me. I bought this because I wanted a way to keep the cords for my headlamp from being a tangled mess in the hip-belt pocket in my pack. The headlamp I use just has two elastic bungee cord strands to strap it to my head. But those cords would get in the way and they made it difficult for me to fish out other items from the same pocket.
My usage of this sack has expanded to more than just a container for my headlamp. I started putting everything I was carrying in that same hip-belt pocket into this small stuff sack.
 |
| Knife, headlamp, and mini flashlight all carried in the stuff sack |
I found that just putting all of the items I typically carry in that pocket was the easiest way to access any of them without worrying that I was accidentally dropping one of the other items out of the pocket. The hip-belt pocket is off to the side of my hip, and it's not the easiest to see, especially when I'm on the move. Keeping this sack that weighs 0.15 oz (4g) means I can grab the whole thing out of the pocket, dig through to get what I need, then return the whole sack back into the pocket with no worries that I might have dropped something.
The sack also helps provide another layer of water protection inside the pocket.
Here is a link. This is the smallest size. It feels as thin as tissue paper, but it is made of Dyneema (of course), so the material itself is impermeable by water. It's extremely strong.


The bottom ends of the frame rubbed a couple of holes in the bottom of my pack. I'm going to have to figure out how to patch those holes.

I mentioned my upgraded food bag in the bear hang kit section above. It is also a Dyneema sack from Hilltop Packs.
Ultralite Sacks Zippered Cubes
These are an upgrade of my ditty bags. Like the cordage I started with, the stuff sacks I had used to carry my poop kit, and my odds and ends for a ditty bag were just nylon roll-top stuff sacks I bought in a multi-pack from Walmart. The colors in the pack I bought were red, yellow, and blue. The yellow was the large size and it is so deep and long I have never found a use for it. It's like a windsock with the end sewn up. I have used the other two for a year, but in the meantime, I purchased a couple of these Ultralite Sacks Zippered Cubes. The large size was bigger than I needed, so I am shuffling things around a bit. The large cube will now replace my main ditty bag. I will use one regular size cube for my hygiene items, one for my electronics, and a third regular size cube will replace the roll-top sack that has been my poop kit.
I bought the first one from Garage Grown Gear. I bought it to hold my electronics items like my power brick and charge cords. The roll-top stuff sacks from Walmart are not actually water resistant. These zipper packs are. They are also lighter weight (half the weight) and the fact that they are relatively shallow, but the zipper slides down the full length of the sack means you can see everything inside it without having to dump it all out.


If you order from Garage Grown Gear, you can order different sizes, but the only color option is the white. If you order direct from Ultralite Sacks, there are multiple color options. They are not Dyneema, but a material that is similar called "Ecopak". It is made of recycled material.
Another big plus for these sacks over Walmart junk is that these are made here in the US. The company is located in Arkansas. I like these zipper cubes so well, I've been using them for travel in general, not just for backpacking.
Another big plus for these sacks over Walmart junk is that these are made here in the US. The company is located in Arkansas. I like these zipper cubes so well, I've been using them for travel in general, not just for backpacking.
I will say, ordering direct from Ultralite Sacks has been slower for fulfillment than from Garage Grown Gear. I placed my order on February 6th. It is now the 11th and they just shipped the items. GGG usually ships within a day or so. But I suspect this company may be run out of someone's garage here in Arkansas. I'll cut them a bit of slack. Can't wait for the new cubes. Those roll-top stuff sacks are lousy.
Massage Ball (Cork) by Rawlogy
This will be short and sweet. I have used this a couple of times on trail to massage out sore muscles. I feel like it's more difficult to use than just rolling my trekking pole over those muscles. It doesn't weigh much, but I think I will be dropping it from my kit in the future.
Here is a link: Massage Ball (Cork) by Rawlogy
Durston Kakwa 55
So, I've had this pack for a while. Here's a link to my original review. I believe I have already mentioned how smelly this pack got on my OT thru hike at the end of 2023. When I returned from that hike, I gave my pack a bath. It was gross. To wash it, I pulled out the internal frame bar. When I replaced the frame after I had washed and dried the pack, I didn't realize there were slots that guide the frame into pockets inside the pack. It was a stupid mistake, and I should have realized that the frame wouldn't just fit loose inside the sleeve. As a result, I damaged my pack on the last trip.

The bottom ends of the frame rubbed a couple of holes in the bottom of my pack. I'm going to have to figure out how to patch those holes.
Do I still recommend this pack? Yes, it's a good pack. Just be smarter than me. I do wish it didn't smell so badly when it gets sweaty, but I suppose that's also on me. 😕
SaltStick FastChews
Andy, who I met on my OT thru hike, introduced me to these SaltStick FastChews. These are chewable electrolyte tablets that aid in keeping your body hydrated and prevent cramping.

I like the Mixed Berry and Mango flavors. Other friends of mine told me that these don't work as well for them to prevent muscle cramps, but I haven't had issues with muscle cramping in general, so I'm okay with these tablets as a hydration supplement.
Other benefits of these tablets over mix-in type supplements, you don't have to mix these in your drink, which also means your water bottle doesn't smell/taste like your hydration supplement mix for the next week.
I do enjoy some of the mixes as well. When I'm on trail, I have mixed in a Propel or other similar hydration drink mix, but more for the flavor. I'm a soda drinker at home, and I enjoy a soda with my meals. having a flavored beverage helps change things up after water all day. Still, I plan to continue using these electrolyte tablets. Thanks Andy!
I do enjoy some of the mixes as well. When I'm on trail, I have mixed in a Propel or other similar hydration drink mix, but more for the flavor. I'm a soda drinker at home, and I enjoy a soda with my meals. having a flavored beverage helps change things up after water all day. Still, I plan to continue using these electrolyte tablets. Thanks Andy!
Gossamer Gear Thinlite Pad
This is an item I picked up before my OT thru hike. It has come in handy as a sit pad, as a little extra cushion and insulation when my sleeping pad failed, and it serves to prevent my sleeping pad from slipping and sliding around when I'm camped in my tent. Here is a link to the product.
The update here is that I had issues with it catching and tearing on this recent trip. There are two versions of the Thinlite pad; a rolled version and a folded version. The folded version is one inch wider, which I like (and it's still only 20 inches wide). But I like to strap it on the bottom of my pack. I end up rolling it. When it's unrolled, the end that was in the middle of the roll doesn't want to uncurl. And as I said, the outside edge snagged and started to tear. It's not an expensive item, and it does what it is supposed to do, provide some padding when you need it, but I will say, I think there is definitely room for improvement. It could be wider (25" like the wide sleeping pads), and it could roll better. Maybe an edge protector of some kind as well. I don't know if you could do those things without adding a bunch of weight, but edge protection could even be added to just one end that makes up the outside of the roll.
I have cut off the fraying end of this pad because the ends were continuing to catch on things and tear more. Hopefully that will help reduce more tearing.
Bonus: Gear I Forgot!
There is one gear item I forgot to bring with me on this trip; BodyGlide. I thought it was in my hygiene bag, but the item I thought was BodyGlide was a travel size lotion. BodyGlide is to prevent chaffing. On a ten mile or less day, I could probably get away without BodyGlide, but as soon as I'm doing more than that, or even shorter days back to back, that constant friction does some serious damage to my skin. It can be frustrating when you know you can push your muscles hard, but your skin is irritating you and causing you pain.
Well, that about wraps up my gear review from this trip. I had a good trip, and I'm looking forward to getting back out there to finish up the remaining 63 miles of the OT.
Thanks as always for stopping by,
Gavagai

Comments
Post a Comment